Renting a property often involves a lot of paperwork. At RocketRent, we make everything as easy as possible by managing all the headaches electronically through our application. For some of the paperwork that you completed manually for a property, or had before you started working with RocketRent, you can upload it to each of your specific properties' homepages.
To Add Files to your Property:
- Select the Property from the "Properties" section of your RocketRent dashboard
- Click on Files
- Click Add File to upload a corresponding file to your property's homepage
- From this page, you have the ability to Create a Document from a Template or Upload an External Document
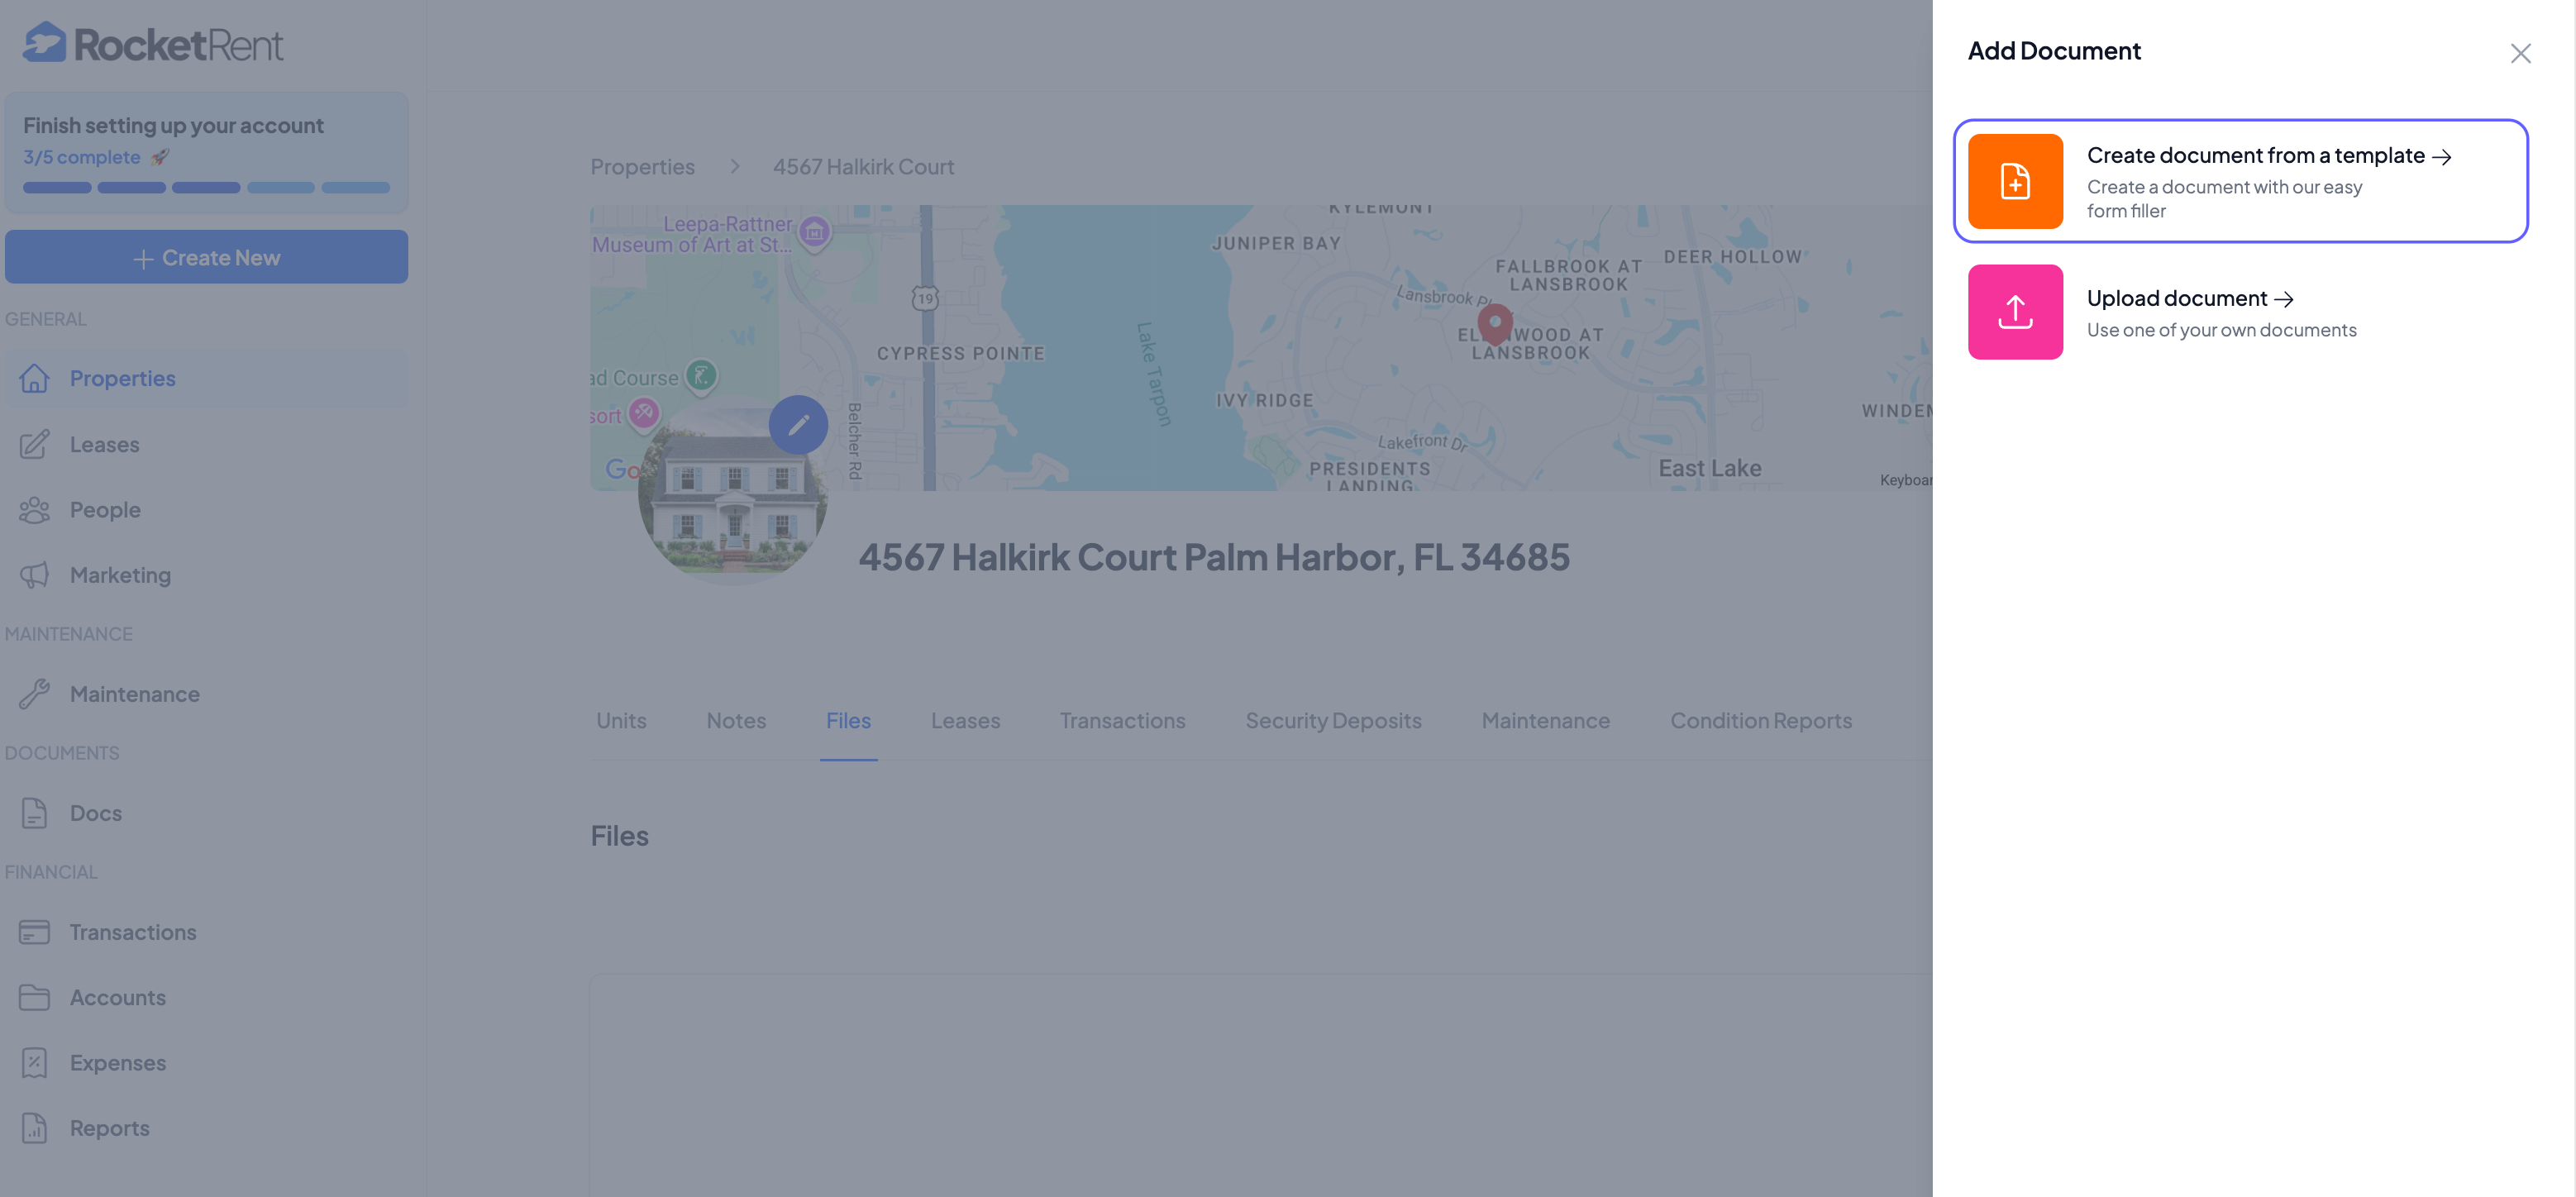
- When Uploading a Document, select the file from your computer. Acceptable file formats are .JPG, .PNG, .DOC., or PDF, with a MAX file size of 20MB
- You can Nickname your document at the time of upload
- From this page, you have the ability to Create a Document from a Template or Upload an External Document
- Click Save
Creating a Document from a Template
- Select the Template from our database of forms that you wish to attach to your property
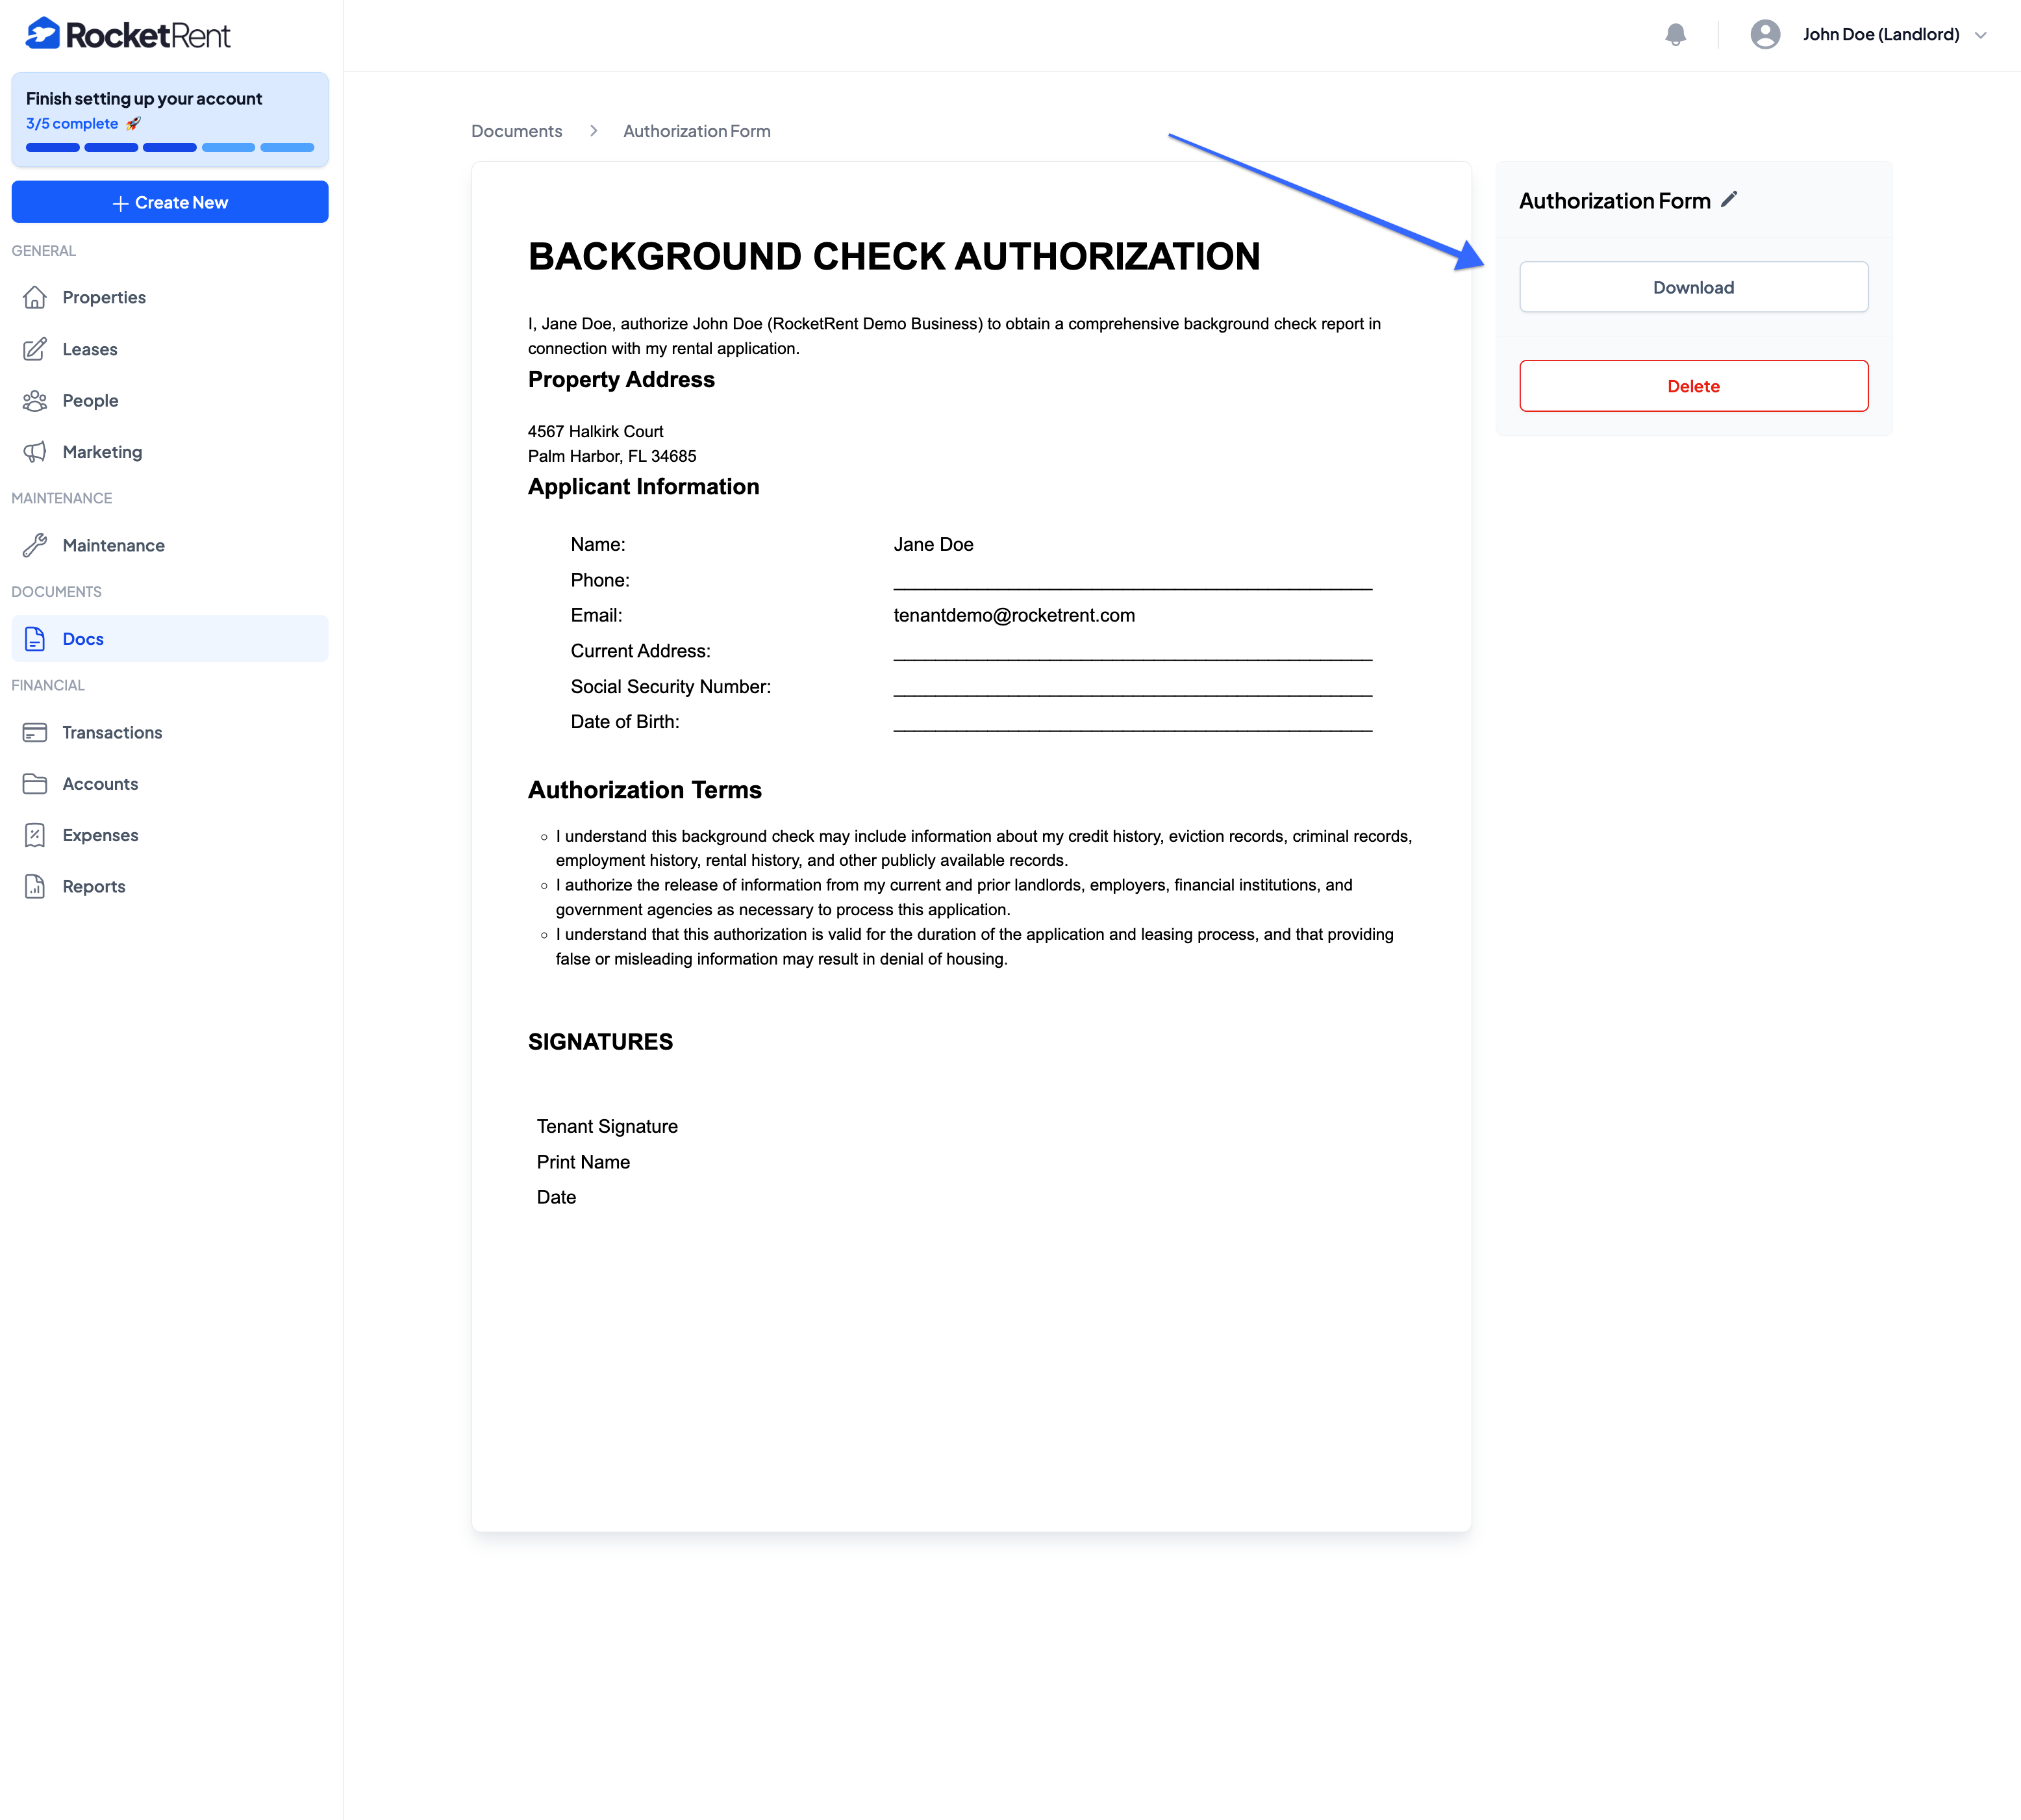
- Utilize our proprietary document-filler to complete your template
- Your landlord information will automatically populate in the template based on your registered information
- You can add an existing tenant or create a new tenant when creating your template
- Once you finish your template, click Download
*To use RocketRent's templates, your account must be upgraded to a RocketRent Pro account. We offer subscription plans tailored to different customer types. Monthly and Annual plans are available. To see which plan works best for you, visit our Pricing Page.
Was this article helpful?
That’s Great!
Thank you for your feedback
Sorry! We couldn't be helpful
Thank you for your feedback
Feedback sent
We appreciate your effort and will try to fix the article