Adding a tenant or a lease to your RocketRent account is easy! After you've registered your account, adding a tenant or a lease will be Step 3 of 5 to complete your account setup.
1. Click On "Add a Tenant/Lease" from your "Get Started"dashboard
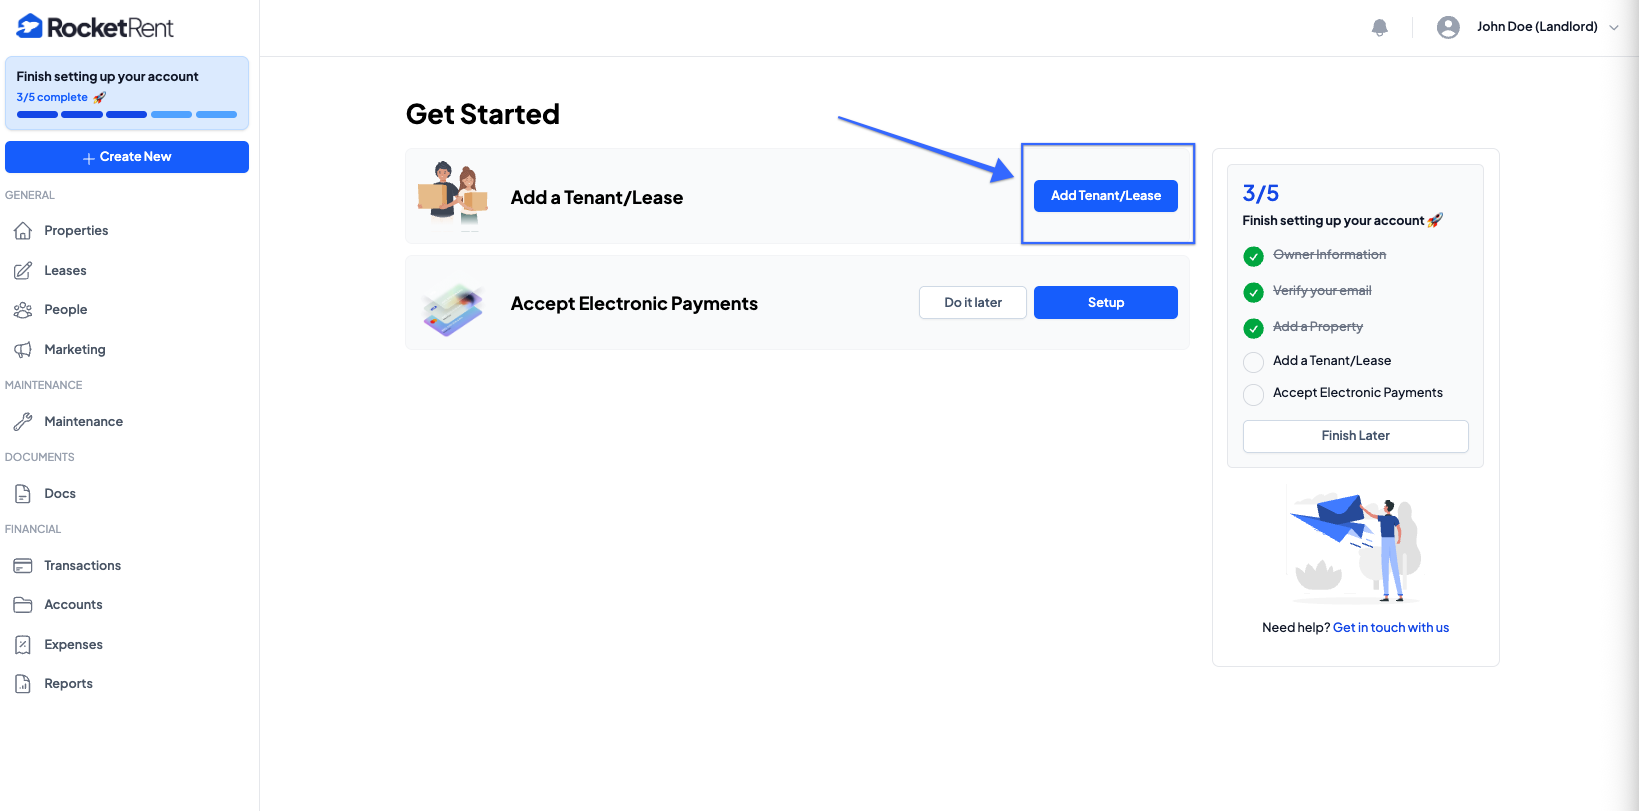
2. Either Add a new Property via the link, or Select a Property from the dropdown if you've previously created a property.
- If selecting a previously created property, you will then Select the Unit.
- If there is no unit, the dropdown will default to the property address.
3. Click Next
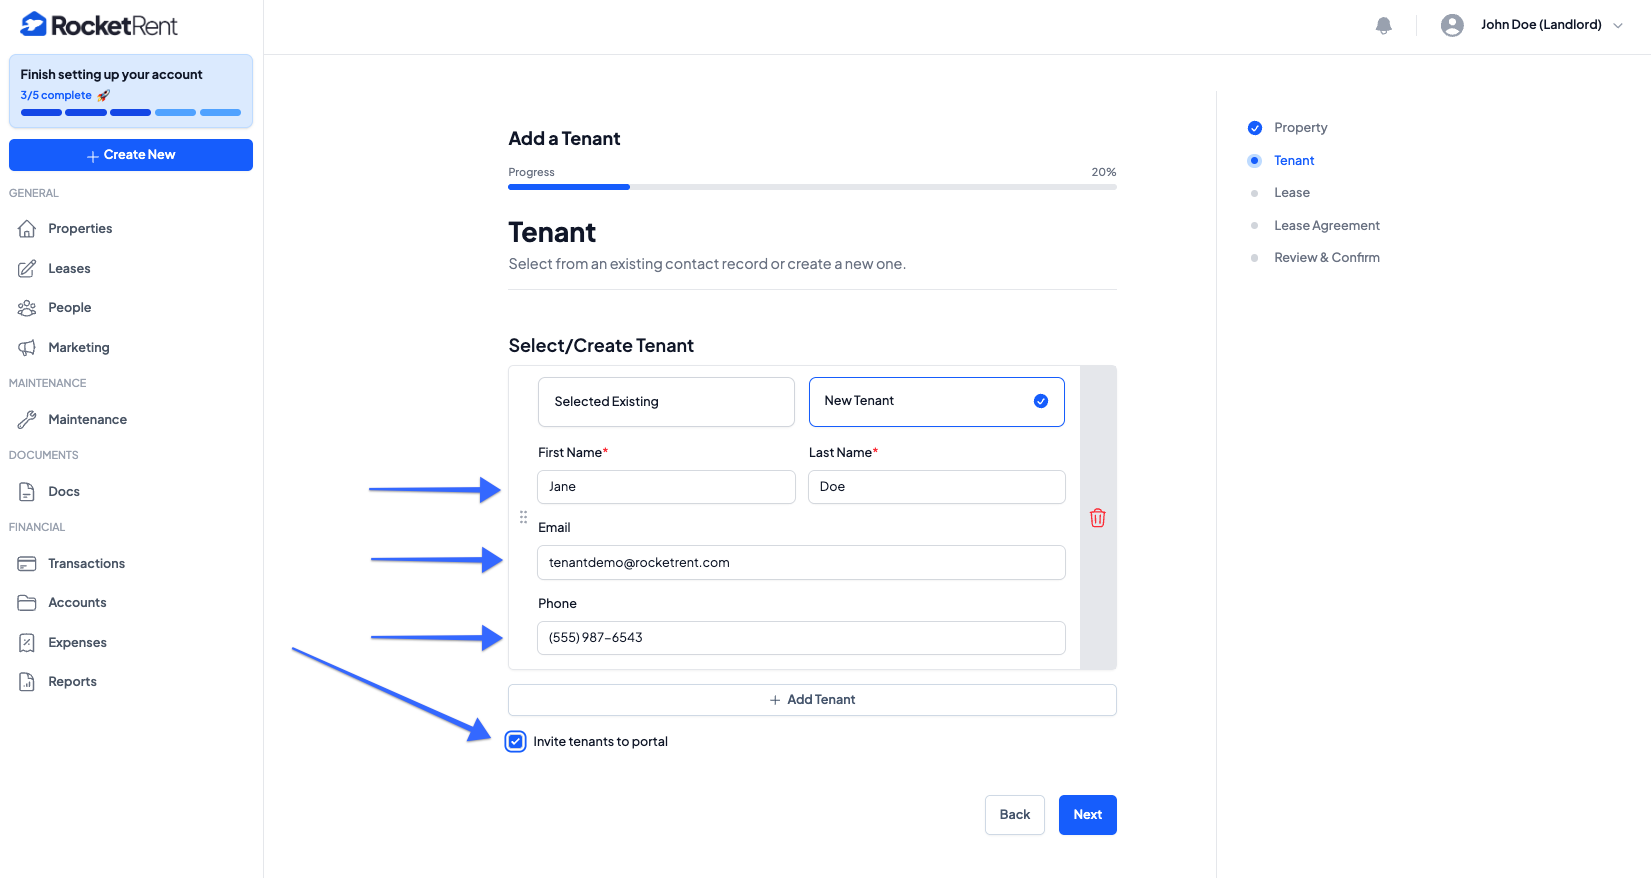
4. On the next page, you will Add a Tenant
- You can select from an Existing Tenant or Create a New Tenant
- If creating a new Tenant, fill in the necessary information
- You can also add multiple tenants to a lease by clicking the + Add Tenant button
- Before clicking Next, you can "Invite the Tenants to Portal" by checking the checkbox
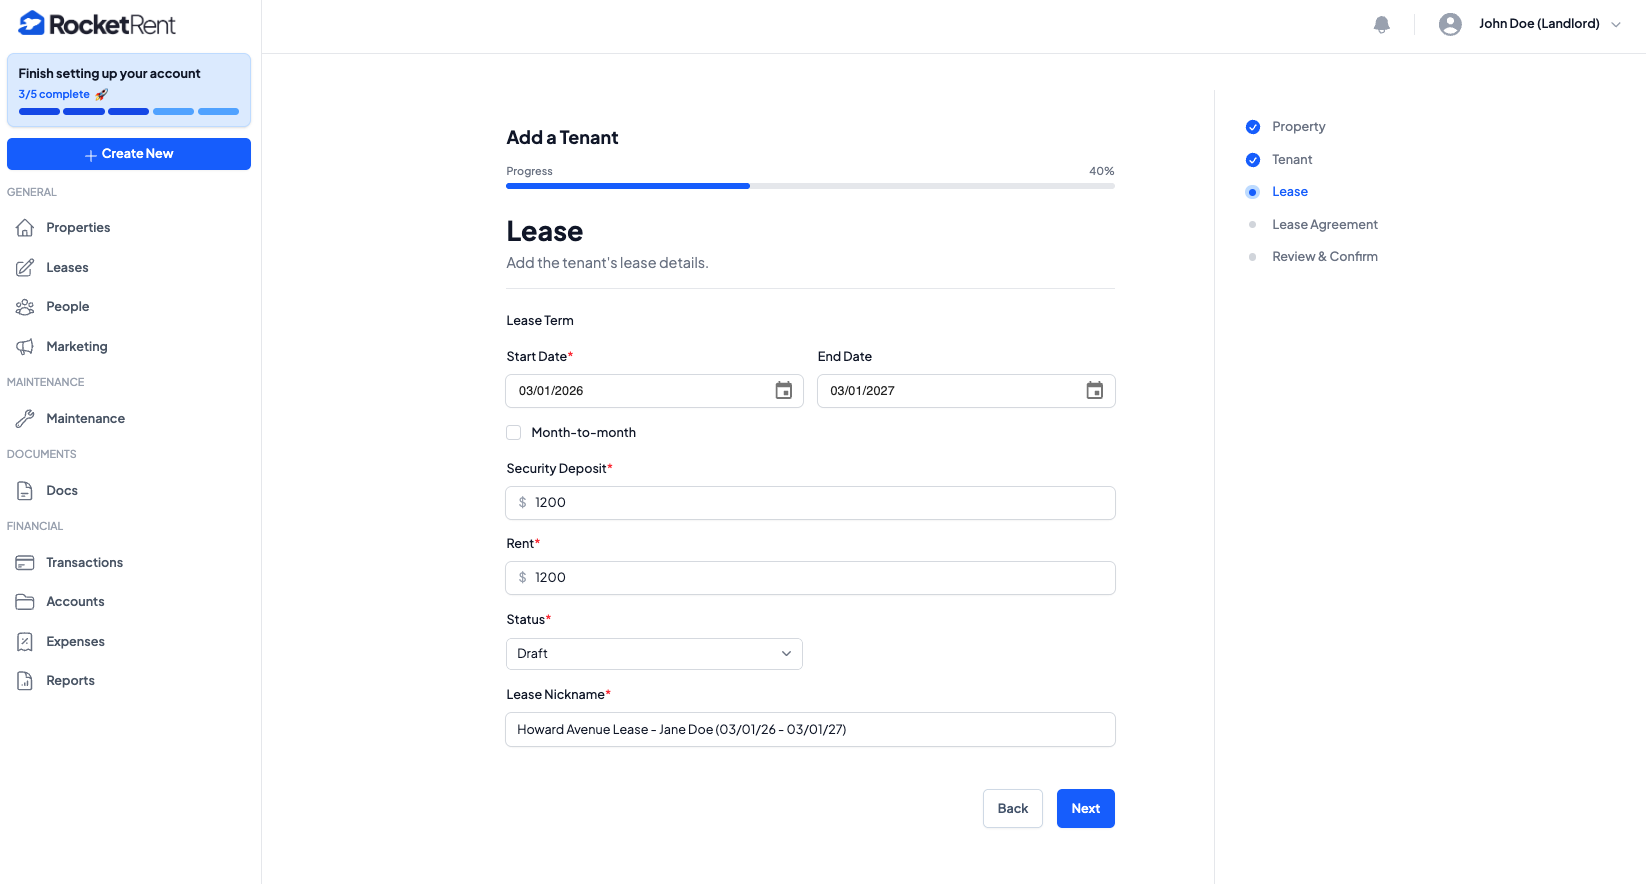
5. Once the tenant has been added to the property, you will then set the Lease Terms
- Enter Start Date and End Date
- Select whether the lease is "month-to-month"
- Enter the Security Deposit
- Enter the Rent Amount
- Select the Status of the lease
- You can save the lease as Active, Draft, Past, or Upcoming
- Click Next
6. Choose if you have an Existing Lease Agreement and click Next
- If "Yes" is selected, you will be given the option to upload your previous lease
- Acceptable File formats: PDF, DOC, DOCX, JPG, PNG (Max of 20MB)
- If "No" is selected, you have the option to Create a Lease Agreement
7. You will finally Review & Confirm all lease details before finalizing your tenant and lease information
- If all looks correct, click Finish

Was this article helpful?
That’s Great!
Thank you for your feedback
Sorry! We couldn't be helpful
Thank you for your feedback
Feedback sent
We appreciate your effort and will try to fix the article